Scanning into an Existing Document (Basic)
Instead of using scanned images to create a new document, you may want to scan images into an existing Laserfiche document.
Note: Before scanning, complete the Preparing to Scan process.
To scan images into an existing document
- In the Laserfiche Windows client, open the Laserfiche Imaged Document you want to scan into.
- Select Scan under
 File in the menu bar.
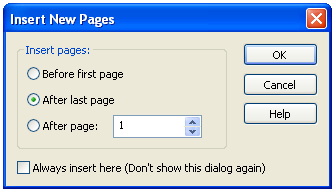
- In the Insert New Pages dialog box, select where the new pages should be inserted.
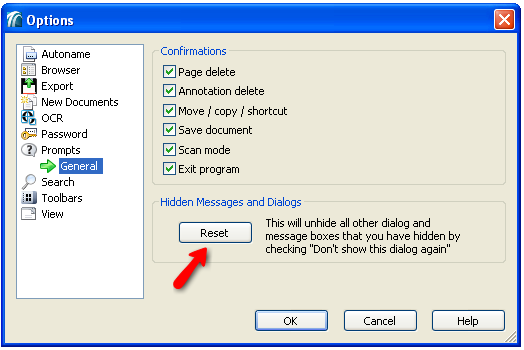
Note: If this dialog box does not appear, click Reset under Tools, Options, Prompts in the Laserfiche Windows client menu bar.
- In the Laserfiche Scanning Mode dialog box, select Basic Mode.
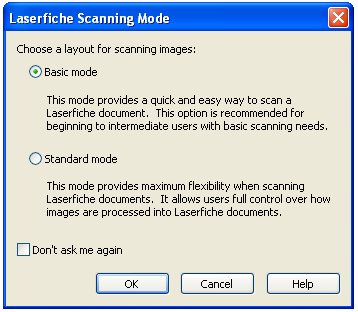
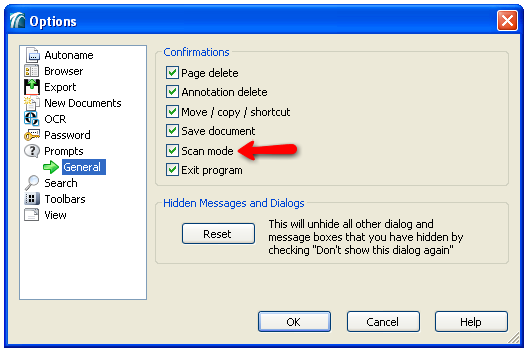
Note: the Laserfiche Windows client will only prompt you to select a scanning mode if the Scan Mode option is selected under Tools, Options, Prompts. If this option is not selected, Laserfiche Scanning will always open in the mode most recently used.
- In Laserfiche Scanning, select the
 button from the toolbar to begin scanning.
Note: In the event of a paper jam, resolve the jam then select the button from the toolbar to resume scanning.
- Once scanning is complete, review scanned images and/or generated text. More info.
- Store the document in a Laserfiche repository by selecting Done from the toolbar to store the document in the location specified during Step 1. Laserfiche Scanning will close after the document is stored.

Note: Errors encountered during document storage are displayed in the Output Log Pane. Common errors include invalid field data and insufficient privileges for creating an entry in the destination specified.
Related Topics